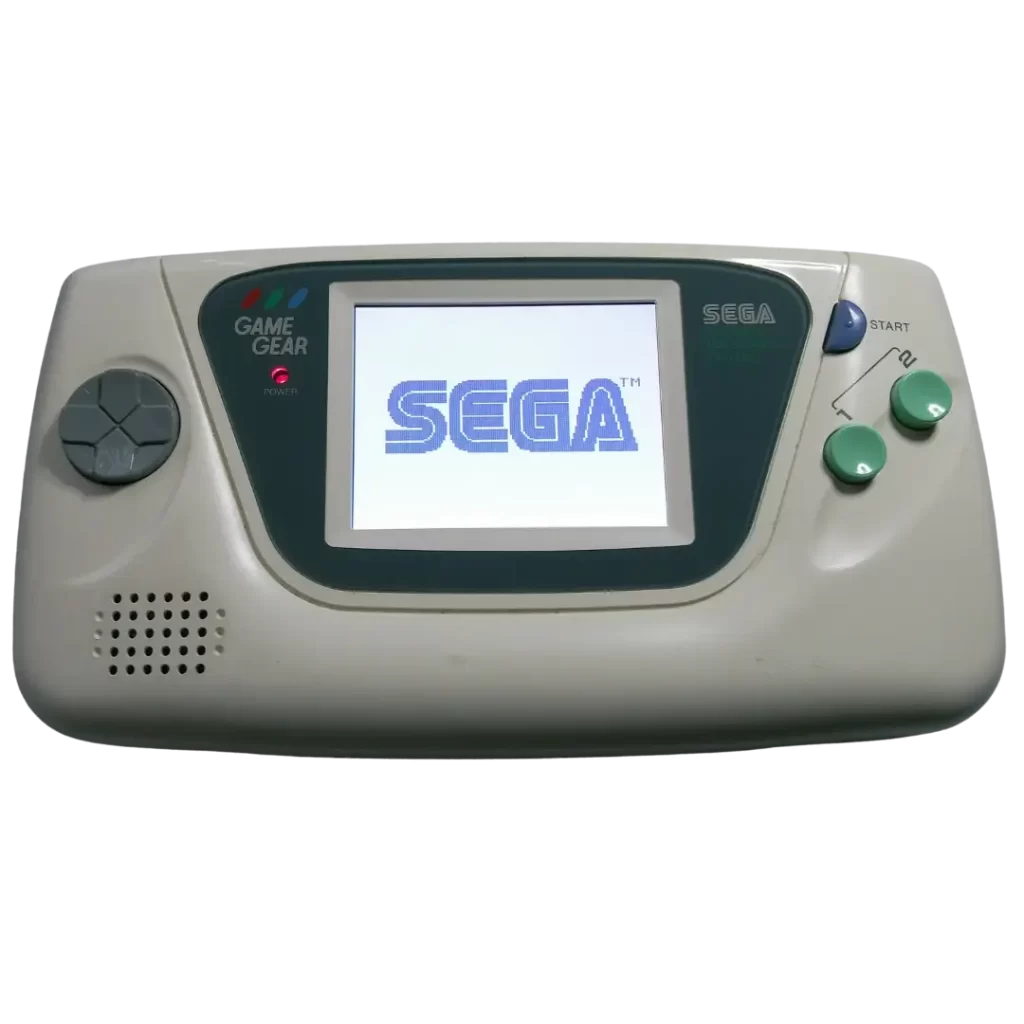
Sega Game Gear Repair: Restoring Your Gaming Nostalgia
Introduction:
Do you remember the golden era of handheld gaming when the Sega Game Gear ruled supreme? If you’re a proud owner of this iconic portable gaming console, chances are you’ve experienced the frustration of encountering technical issues over time. But fear not! In this blog post, we’ll guide you through the process of Sega Game Gear repair, helping you revive your gaming nostalgia and get back to enjoying your favorite retro titles. Let’s dive in!
Understanding Common Sega Game Gear Issues:
Before embarking on the repair journey, it’s crucial to familiarize yourself with the common problems that plague the Sega Game Gear. These include screen issues like dead pixels, lines, or a completely blank display, sound problems, power supply malfunctions, unresponsive buttons, and cartridge slot connectivity issues. Knowing what to look out for will aid in diagnosing and resolving the specific problem affecting your console.
Assessing and Troubleshooting the Problem:
When troubleshooting your Sega Game Gear, it’s essential to approach the process systematically. Start by replacing all of the capacitors as these are surely faulty if they are still original and must be replaced. Continue by checking the power supply and batteries to ensure they’re functioning properly. If the issue persists, move on to inspecting the screen, sound components, and buttons. Look for loose connections, broken parts, or signs of damage that may require repair or replacement.
Tools and Resources for Repair:
Equipping yourself with the right tools is crucial for a successful repair. Some essential tools include a small Phillips-head screwdriver, soldering iron, desoldering pump, multimeter, and replacement parts like capacitors or screen ribbons. Additionally, online resources such as repair guides, forums, and YouTube tutorials can provide valuable step-by-step instructions and visual demonstrations.
DIY Repairs vs. Professional Assistance:
When it comes to Sega Game Gear repair, you have two options: tackle the repairs yourself or seek professional help. Simple fixes like cleaning contacts or replacing batteries can often be done at home. However, for more complex issues or if you’re unsure of your technical skills, it’s advisable to entrust your console to experienced technicians who specialize in retro gaming repairs. They possess the expertise and tools necessary to handle intricate repairs and ensure your console’s longevity.
Preventive Maintenance Tips:
Once you’ve successfully repaired your Sega Game Gear, it’s important to implement preventive maintenance practices to extend its lifespan. Regularly clean the contacts, remove dust from the screen and buttons, and store your console in a cool, dry place when not in use. Taking these simple steps will help minimize the likelihood of future issues and keep your Sega Game Gear running smoothly.
Conclusion:
The Sega Game Gear holds a special place in the hearts of gaming enthusiasts worldwide. With proper care, maintenance, and occasional repairs, you can enjoy the nostalgia and thrill of this iconic handheld console for years to come. By understanding common issues, troubleshooting effectively, and utilizing the right tools, you can take on Sega Game Gear repairs with confidence. Whether you choose to DIY or seek professional assistance, the joy of gaming on your restored Sega Game Gear will make all the effort worthwhile. Get ready to relive the past and embark on new gaming adventures!
Remember, if you need professional assistance with your Sega Game Gear repair, don’t hesitate to reach out to us at GameGears4You.com. Our team of experts is dedicated to restoring your gaming nostalgia and ensuring an exceptional gaming experience.